Merry Christmas, friends!! Now that Thanksgiving is in the rearview mirror, I think we can all agree that it’s CHRISTMAS TIME!!! This also means that Baby Rissler is ALMOST HERE! My due date is Tuesday, so I’m hoping he shows his face sometime this week. Yay!
*This post was originally published on November 25, 2017 and updated in December 2018.*
Today I’m excited to share my own DIY project as well as posts from my other home decor bloggers with you! Scroll to the end of this post to get inspired by many other DIY Christmas ideas. I especially love the cookie cutter Christmas tree garland and the rustic DIY Christmas tree!
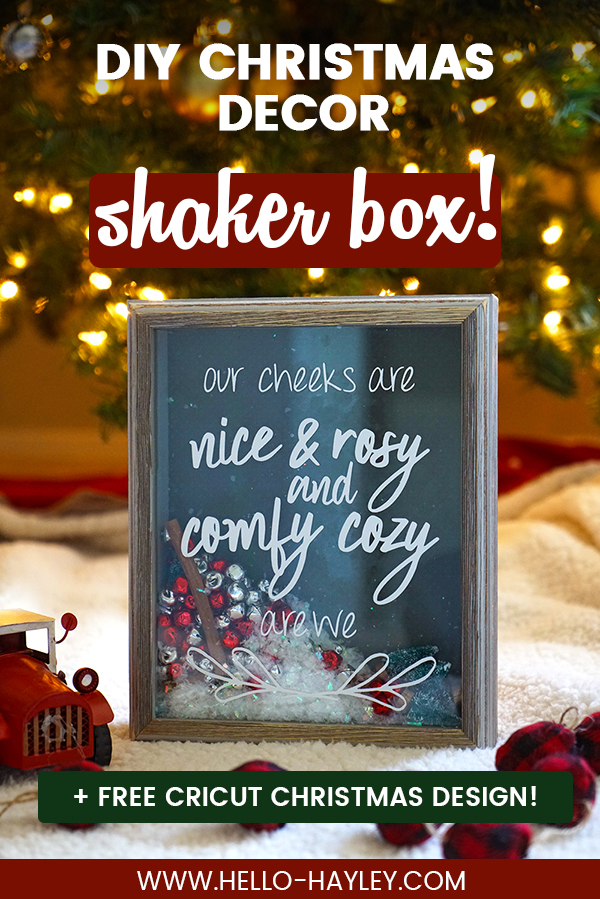
As I’ve been shopping for lots of Christmas decorations over the last few weeks, I’ve seen fun little Christmas shaker boxes. I almost bought one, then I realized, “Hey… I can do that!!!” That’s how this DIY project, the DIY Christmas Shaker Box, was born!
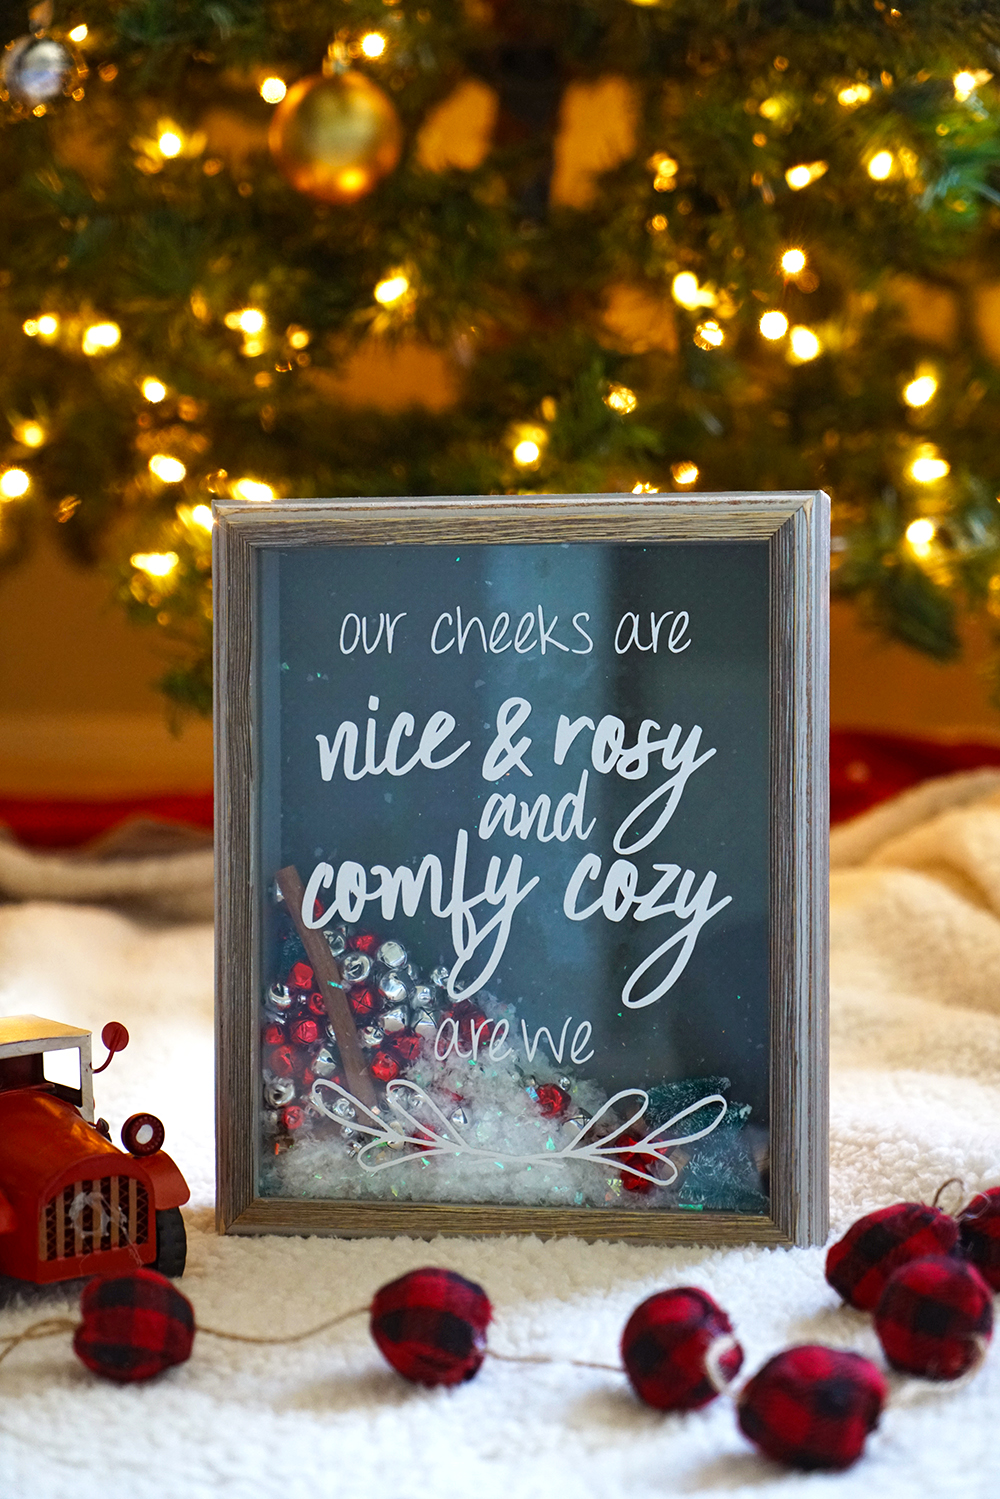
Materials for the Christmas shaker box
*This post contains affiliate links, which means I may receive a small commission at no additional cost to you if you click a link and make a purchase.*
I bought all of my supplies at Hobby Lobby, it only cost me about $15. Not bad!
- 8×10 shaker box
- I found mine at Hobby Lobby for $12.99 + 50% off
- Scrapbook paper
- Dark is better for more contrast
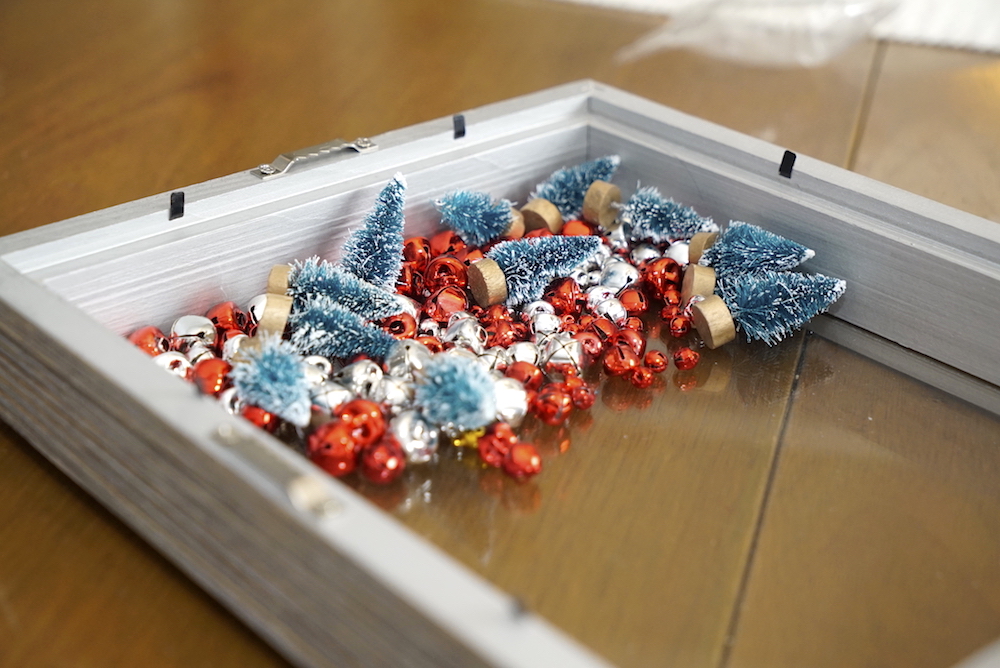
- Filling material for the scatter box (bells, mini trees, artificial snow, cinnamon sticks), at least 1 cup
- White vinyl
- Transfer paper
- This is the BEST transfer paper that peels easily from your vinyl. I swear it!
- Cricut or silhouette craft machine
- I LOVE my Cricut Explore Air 2, linked above!
How to Make a Shaker Box
I’m not kidding when I say this: it couldn’t be easier.
- Cut the scrapbook paper to the same size as the cardboard backing of the shadow box (8×10).
- Pour the filler into the shadow box.
- Place the scrapbook paper and cardboard back on the frame.
- Create your own design for the jar or sign up below to receive the design I used for free! At first I used a chalk marker, but this year I erased it and created a design using my Cricut. It looks much cleaner and more professional, so I would definitely recommend this method!
- Print/cut the design onto the white vinyl and then place transfer tape over the design. This helps keep everything together so you don’t have to arrange the letters individually. Stick the vinyl to the glass, remove the transfer tape and excess vinyl. Wah-lah! Completed!
Tips for designing your Christmas shaker box
First, keep it simple! Don’t create a cluttered background or your design won’t stand out as well. Here are the before and before versions when I used a chalk marker. I modified it in 2018 to use the Cricut vinyl design.
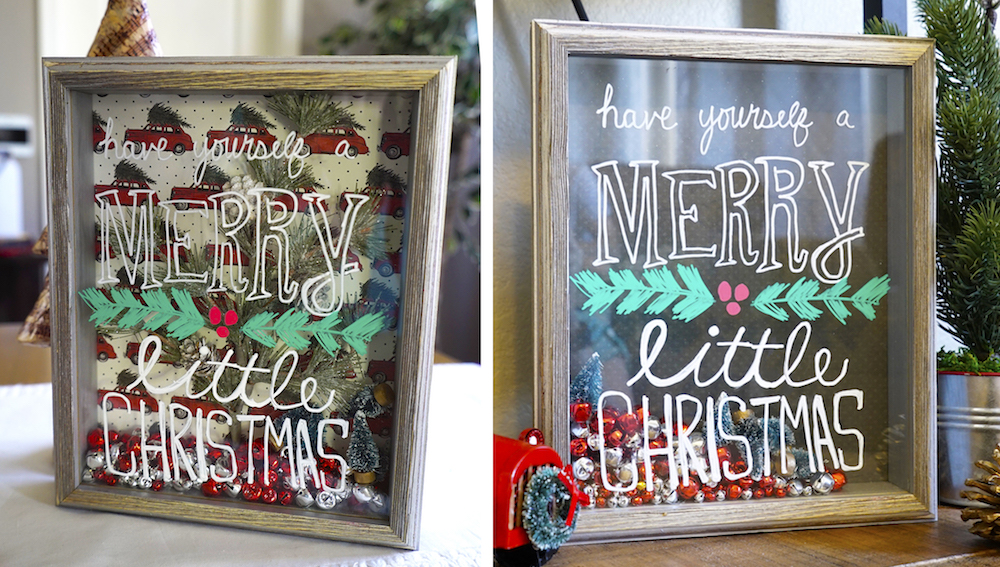
Second, get a variety of different fillers, large and small! This year I added a few cinnamon sticks and fake snow.
Tips for designing a Christmas sticker
I love finding different graphics, symbols and images Creative market. I often find packs of Christmas graphics for less than $5.
Plus, I use it often dafont.com to find pretty fonts. Much nicer than standard computer system fonts! When you use the Cricut Design Center, any fonts downloaded to your computer are brought over so you can use them there too. I often design my entire decal in Photoshop, save it as a PNG, and then upload it to the Design Center. Just a personal preference. 🙂

Aannndddddddd that’s it! It’s really a simple DIY project that will add a little spice to your Christmas decorations. You can also personalize it with your last name or your favorite Christmas saying. Next time I check in, I’ll most likely be having a baby! I may be taking a little break for a few weeks, but I’ll definitely post as soon as I’m back at it. 🙂
MORE DIY Christmas inspiration!
 Loading InLinkz…
 Decorationg Interior Design